
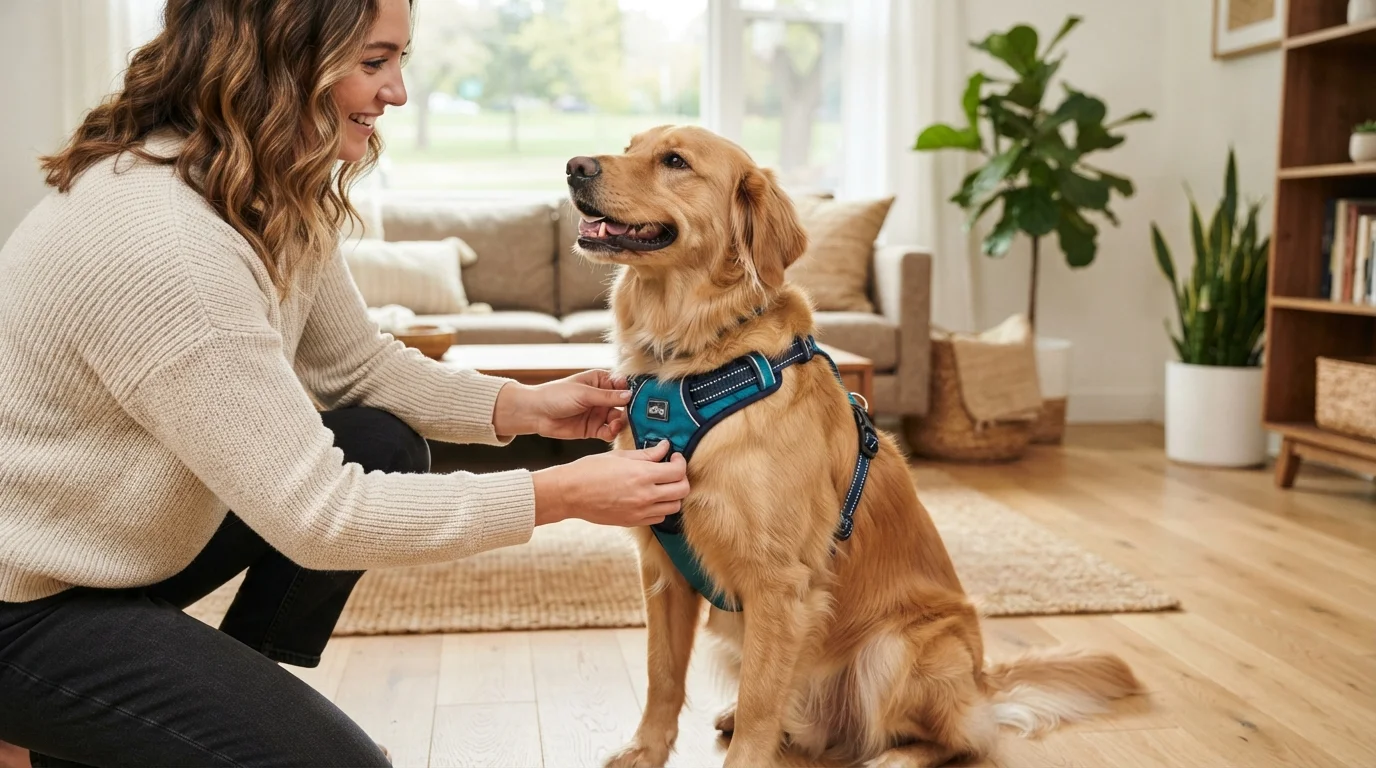
How to Put On a Dog Harness: Step-In, Overhead & Vest

To put on a dog harness, first identify the style (step-in, overhead, or vest), then loosen all straps, position it per style, buckle securely, and adjust so you can slide two fingers under every strap. Keep the D-ring on the back for standard walking harnesses, and make sure no strap twists or digs into the armpits. If your current harness never seems to fit right, browse our dog harnesses and compare sizes before you buy.

Step 1 — Identify your harness style in 10 seconds

Use this quick decision framework before you touch your dog:

If your harness looks like… It’s likely this style How it goes on (one-liner)
Two front leg loops that lay flat on the floor, with a single back buckle Step-in Dog steps into loops, you lift and clip on the back.
One big neck loop plus a belly strap that buckles on the side or back Overhead (slip-on) Slip over the head, then guide one leg through and buckle the belly.
A “T” or “Y” shaped chest piece with multiple adjustment points and a back or front D-ring Vest / no-pull Slip over head or step-in depending on model, then adjust chest and girth straps.

If you’re unsure, lay the harness flat. If the D-ring sits on a piece that will rest between the shoulder blades, it’s a back-clip walking harness. If the D-ring is on a chest plate, it’s often a front-clip or no-pull design. Some harnesses have both.
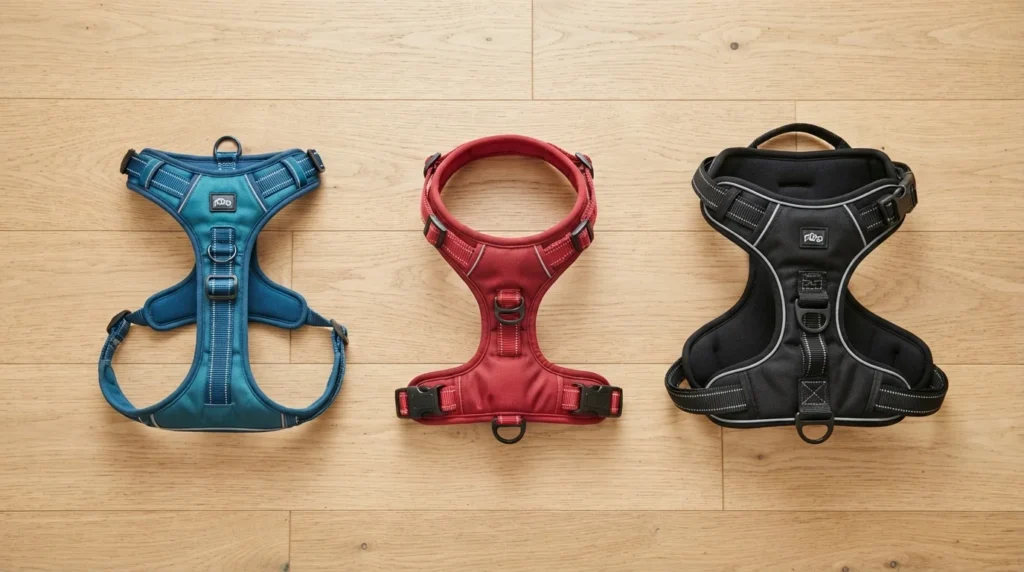
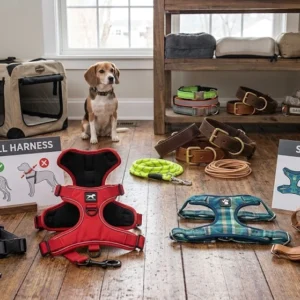
Step-in, overhead, and vest dog harness styles laid out for comparison

Step 2 — Pre-fit checklist (do this once, before the first walk)

  • Loosen all straps completely so you’re not fighting tension while positioning.
  • Untwist every strap; twisted webbing is a common cause of chafing behind the elbows.
  • Pre-adjust to your dog’s rough size using the brand’s size chart (chest girth and neck), then fine-tune on the dog.
  • Have treats ready and ask your dog to sit or stand still; kneel at their side if they’re small or nervous.

Step 3 — How to put on each harness style

Step-in harness (popular for small and medium dogs)

  1. Lay the harness flat on the floor with the inside facing up and the two leg loops clearly visible.
  2. Position your dog behind the harness and guide each front paw into a loop (use treats if needed).
  3. Lift both sides up around the torso behind the front legs.
  4. Fasten the buckle or buckles over the back.
  5. Adjust side straps so the harness sits snugly without riding into the armpits.

Watch for: The harness rotating so the D-ring ends up on the chest instead of the back. If that happens, unbuckle and re-orient before re-clipping.

Overhead (slip-on) harness with 2 clips

  1. Unclip the belly strap and hold the neck loop open.
  2. Slip the neck loop over your dog’s head so the chest piece rests on the breastbone, not the throat.
  3. Guide one front leg through the appropriate leg opening (or slide the belly strap under and around, depending on model).
  4. Buckle the belly strap on the side or back as designed.
  5. Adjust neck and girth straps evenly so the harness doesn’t slide forward or rotate.

Watch for: The chest strap sitting too high and pressing on the throat. It should be low across the sternum.

Vest / no-pull harness (front-clip or dual-clip)

  1. Loosen both the chest strap and the girth (belly) strap fully.
  2. For most models, slip the harness over the head so the chest plate sits centered on the breastbone.
  3. Bring the girth strap around behind the front legs and buckle it.
  4. Check the shape. On strap-style no-pull harnesses, the chest strap should run level across the breastbone and form a sideways “T” with the belly strap when viewed from the side. On Y-front vest harnesses, the “Y” should meet on the breastbone, below the throat.
  5. Adjust the girth strap so you can fit two fingers under all contact points.

Watch for: On strap-style harnesses, the chest strap riding up toward the throat or sagging toward the front legs. Adjust the shoulder and chest straps until it sits level, then re-center the D-ring.

Not sure whether your dog needs a front clip at all? Our guide to front clip vs back clip harnesses explains which works better for dogs that pull.

Step 4 — Fit check: the two-finger rule and movement test

A safe, comfortable fit follows the two-finger rule used by trainers and fitters:

  • Slide two fingers flat under the neck strap, chest strap, and belly strap. You should feel contact, but not a tight squeeze.
  • If you can fit more than two fingers or rotate the harness easily, it’s too loose and your dog may slip out.
  • If you cannot slide two fingers under without forcing, it’s too tight and can cause rubbing or restrict breathing.

Then do a quick movement test:

  • Walk your dog a few steps indoors. The harness should not twist, slide side to side, or dig into the armpits.
  • Gently tug the leash. The harness should not pull over your dog’s head.

Re-check the fit after grooming or any weight change, as the American Kennel Club recommends, and take the harness off when your dog is home alone or resting so the straps cannot snag. While the harness is off, a comfortable flat or breakaway dog collar keeps your dog’s ID tags in place.
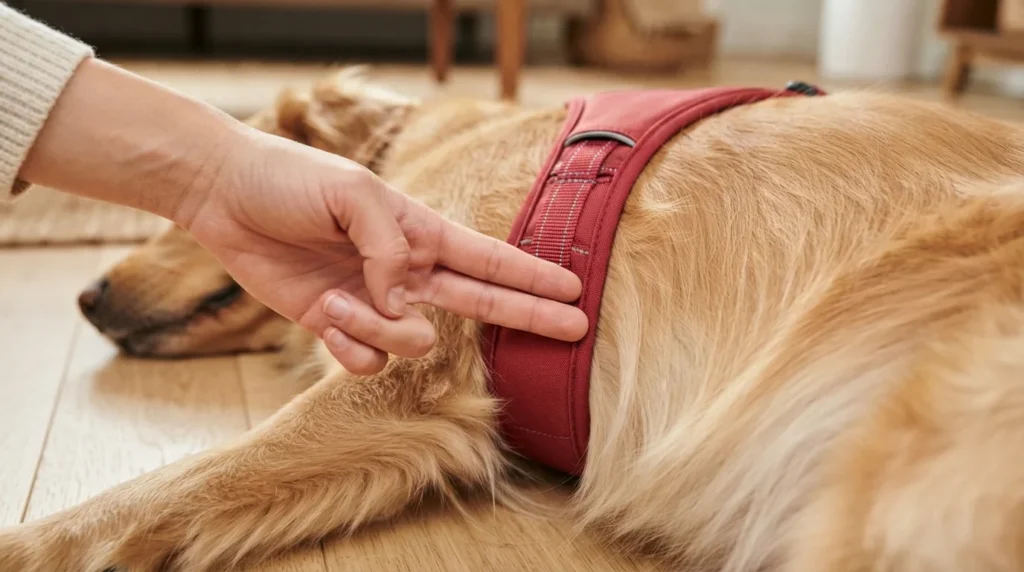
Checking dog harness fit by sliding two fingers under the strap

Troubleshooting common problems

  • Harness keeps slipping off: Tighten the girth strap one notch and re-check the two-finger rule. Deep-chested dogs such as Greyhounds may need a harness with an extra belly strap, which VCA Animal Hospitals notes can help prevent them from backing out.
  • Rubbing behind the elbows: Straighten any twisted webbing and move the belly strap slightly back so it doesn’t sit in the armpit.
  • Chest strap won’t sit level: On strap-style harnesses, adjust the shoulder strap and chest strap together, then re-center the D-ring so the front piece sits horizontally across the breastbone.
  • Straps are maxed out: If the harness is still loose at its tightest setting, or tight at its loosest, it’s the wrong size. Measure your dog’s chest girth just behind the front legs and compare it with the size chart.
  • Dog hates putting it on: Practice with treats, go slower, and consider a step-in style if your dog is head-shy.

FAQ

How do you put on a step-in dog harness?

Lay it flat, have your dog step into the two leg loops, lift the sides up around the torso, and clip the buckle on the back. Then adjust so two fingers fit under the straps and the harness doesn’t ride into the armpits.

How do you put on a dog harness with 2 clips?

Unclip the belly strap, slip the neck loop over the head, guide one leg through the opening (or wrap the belly strap under), then buckle the belly strap and adjust both straps evenly.

Which way should the D-ring face on a dog harness?

For standard walking harnesses, the D-ring should sit on the back between the shoulder blades. Front-clip or no-pull harnesses have an additional D-ring on the chest plate for training.

How tight should a dog harness be?

Snug enough that you can slide two fingers flat under any strap, but not so loose that you can fit a whole hand or rotate the harness easily. Check the neck, chest, and belly straps.

How do you know if a dog harness is on correctly?

The chest piece sits on the breastbone below the throat, the D-ring is in the right position (back or front as designed), no straps are twisted, and the harness doesn’t slide or rub during a short walk.

Can you put a harness on over a dog’s head?

Yes. Overhead and many vest-style harnesses are designed to slip over the head first, then you guide a leg through and buckle the belly strap. Step-in harnesses are the exception.

What’s the difference between step-in and overhead harnesses?

Step-in harnesses have two front leg loops and a back buckle; the dog steps in and you lift and clip. Overhead harnesses have a neck loop that goes over the head first, then a belly strap that buckles around the body.

Ready for a better fit? Measure your dog’s chest girth, then compare sizes in our dog harness collection.
Front Clip vs Back Clip Harness: Which Stops Pulling?

If your dog pulls on the lead, a well-fitted front-clip harness is often the better choice. It gives you more control and makes pulling less effective. A back-clip harness is simpler and comfortable for dogs that already walk calmly. Neither harness will stop pulling or teach loose-lead walking on its own, so combine the right dog collars with reward-based training.

Front clip vs back clip at a glance

Feature Front clip harness Back clip harness
Leash attachment Center of the chest Between the shoulder blades
Effect on pulling Redirects the dog sideways or back toward the handler Lets the dog drive forward against the leash
Best for Dogs that pull, lunge, or need guidance Calm dogs, puppies learning basic equipment, relaxed walks
Main benefit More directional control Easy to attach and less likely to tangle
Main concern Poor designs can interfere with shoulder movement May give a strong puller more leverage
Training role Useful management tool during leash training Better once leash manners are established
Running or hiking Depends on the individual design Often more comfortable for steady forward movement

How a front clip reduces pulling

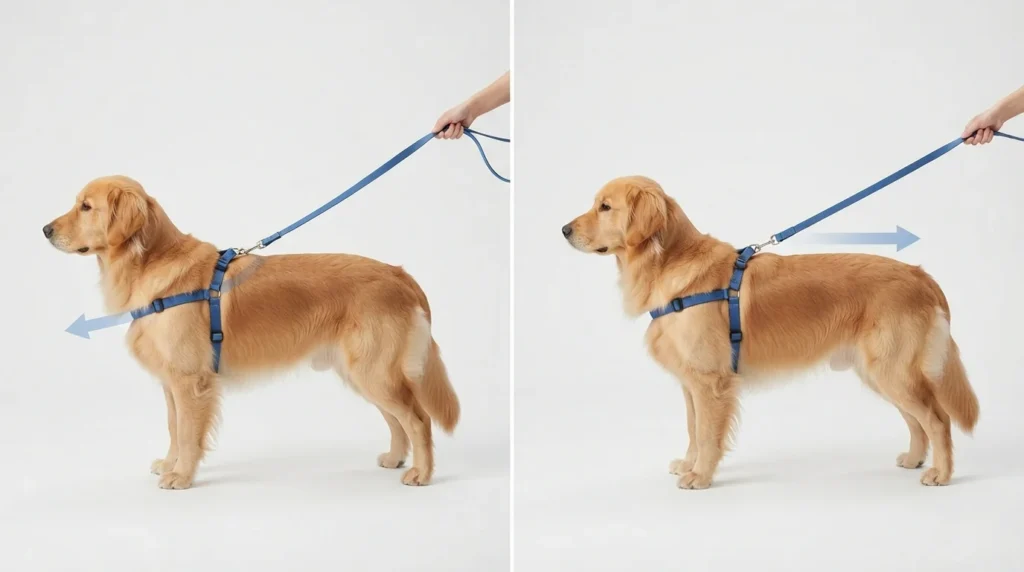
Front clip vs back clip dog harness showing the chest and back leash attachment points

A front clip dog harness for pulling places the leash attachment near the sternum. When the dog surges forward, leash tension does not travel straight down the spine. Instead, it turns the dog’s front end slightly toward you.

That change interrupts forward momentum. The dog has to reorient before continuing, giving you a moment to reward slack in the leash or redirect attention. The American Veterinary Society of Animal Behavior (AVSAB) describes a front clip no-pull harness as an easy management tool that helps dogs walk nicely on leash while you work on training.

This does not mean the harness physically prevents every pull. A determined dog may still lunge, drag, or twist. The harness changes the mechanics in your favor; it does not replace practice.

Front clips can be especially helpful for medium and large dogs whose strength makes a back clip difficult to manage. They may also help when a dog becomes distracted by squirrels, other dogs, or busy sidewalks.

When a back clip makes more sense

A back clip harness attaches above the shoulders. It is usually quick to put on, easy to identify, and less complicated for everyday walks. If your dog already walks on a loose leash, this may be all you need.

Back clip designs can work well for:

  • Calm adult dogs with reliable leash manners.
  • Small dogs that do not generate much pulling force.
  • Casual neighborhood walks.
  • Decompression walks where the dog is allowed to sniff and move naturally.
  • Hiking or steady forward movement, if the harness does not restrict the shoulders.

The drawback is mechanical. Because the attachment point is aligned with the dog’s body, a dog can often lean into the leash and continue moving forward. This is one reason back clips are not usually the first choice for a strong puller.

Are no pull harnesses safe?

Usually, a no pull harness can be safe when it fits correctly, allows normal shoulder movement, and is used under supervision. “No pull” is a product label, not a guarantee that the dog cannot pull or that every design is equally comfortable.

Check these points before a walk:

Fit and safety check What to look for
Strap fit You should be able to slide about two fingers under the straps, but the fit should still feel snug.
Escape check Gently pull the harness forward toward the head. If it can slip off, tighten the straps.
Girth strap position The girth strap should sit a little behind the front legs, without rubbing the armpits or elbows.
Movement The harness should not rub, pinch, or rotate excessively.
Front leg extension The dog should be able to extend the front legs naturally.
Signs of discomfort The dog should not cough, gag, limp, or show signs of discomfort.
Skin condition Inspect the skin after the first few walks.
Supervision Take the harness off when your dog is home alone or resting in a crate, so the straps cannot snag.

The American Kennel Club (AKC) recommends checking shoulder extension and making sure the harness does not sit too tightly or interfere with the front legs. VCA Animal Hospitals also warns that some no pull harnesses can press on the front of the shoulder joint. If your dog has orthopedic pain, a recent injury, breathing problems, or an unusual gait, ask your veterinarian or a qualified veterinary rehabilitation professional to assess the fit.

What is a dual clip dog harness?

A dual clip dog harness has both a front attachment and a back attachment. You can use the front ring for training and added steering, then switch to the back ring for calm walks.

Some dual clip harnesses can also be used with a two-ended leash attached to both rings. This can give you more balanced control, but it takes practice to handle two attachment points smoothly. Use only the configuration recommended by the manufacturer, and watch for twisting, rubbing, or restricted movement.

A dual clip is often useful for a transition plan:

  1. Start with the front clip in a low-distraction area.
  2. Reward your dog whenever the leash stays loose.
  3. Move gradually to busier environments.
  4. Use the back clip once your dog can walk calmly for longer stretches.
  5. Return to the front clip when distractions become difficult.

What to look for when buying a harness for a dog that pulls

Clip position matters most, but a few design details decide whether a harness stays comfortable and actually helps:

  • Attachment points: A front ring for steering, or front and back rings if you want the flexibility of a dual clip setup as training progresses.
  • Chest shape: A Y-shaped front that sits on the breastbone and leaves the shoulder joints clear, rather than a strap running straight across the front of the shoulders.
  • Adjustment points: Adjustable neck and girth straps, so you can fine-tune the fit as your dog grows, changes weight, or gets groomed.
  • Sizing: Measure your dog’s chest girth around the widest part of the rib cage, just behind the front legs, and compare it with the brand’s size chart instead of guessing by breed.
  • Hardware: Sturdy rings and secure buckles, since a strong puller puts repeated stress on the front attachment.
  • Comfort and visibility: Padding where the straps meet the body, plus reflective trim if you walk early in the morning or after dark.

When you are ready, browse our dog harnesses and check each product’s size chart before you order.

What usually goes wrong

The most common mistake is buying a front clip and expecting instant results. If the dog still receives access to exciting smells, other dogs, or forward movement while pulling, the behavior can continue.

Another problem is choosing a restrictive design. A harness that tightens around the chest or crosses directly over the shoulder may reduce pulling while also changing the dog’s stride. A Y-shaped or similarly well-fitting design may allow more natural movement, but the specific fit matters more than the marketing name.

Avoid jerking the leash to force the dog back. AVSAB recommends reward-based training and advises against aversive tools such as choke, prong, and shock collars because of welfare and behavior risks.

For severe lunging, fear, or aggression, consult a certified force-free trainer or a veterinary behaviorist. A harness can help manage the walk, but it cannot diagnose or treat the reason behind the behavior.

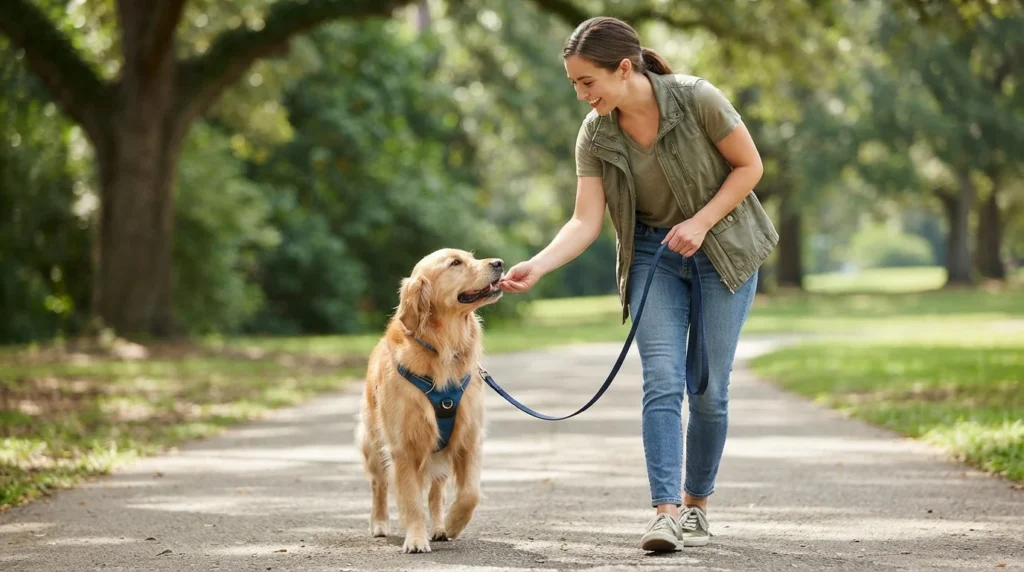
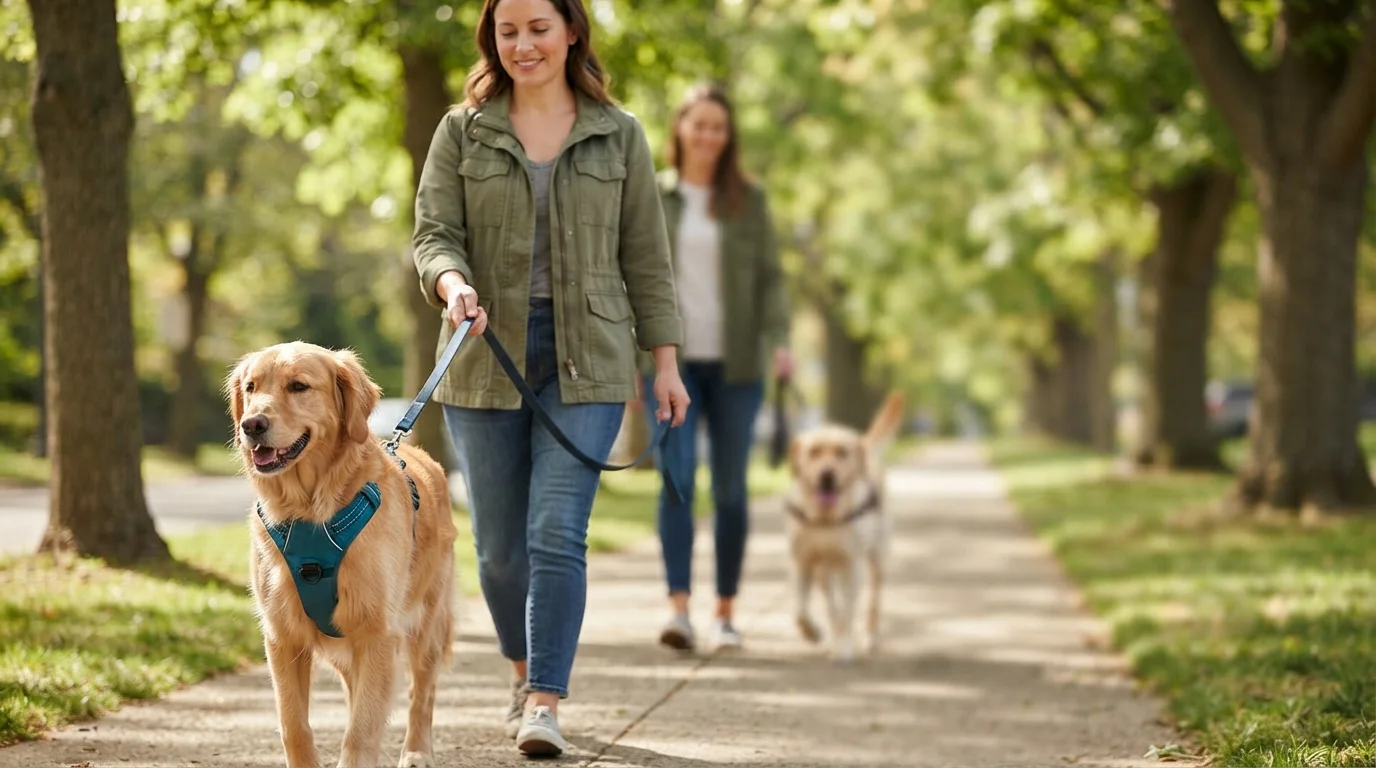
Dog walking on a loose leash in a well-fitted harness

FAQs

Is a front clip or back clip harness better?

A front clip is generally better for a dog that pulls because it redirects the dog’s chest when forward pressure starts. A back clip is usually better for a calm dog that already walks politely. Fit, body shape, and the dog’s walking style matter as much as clip position, so observe movement and check for rubbing.

Do front clip harnesses stop dogs from pulling?

They can reduce the dog’s ability to pull straight ahead, but they do not stop pulling automatically. The chest attachment redirects momentum and gives the handler more control. Reward your dog for a loose leash and pause or change direction when tension appears. The goal is to teach a behavior, not rely on equipment forever.

Are no pull harnesses safe for dogs?

A properly fitted no pull harness is generally safe for many dogs. Problems can occur if the straps pinch, sit in the armpits, tighten excessively, or restrict shoulder movement. Supervise the first walks and check the skin afterward. Stop using the harness if your dog limps, coughs, gags, or shows persistent discomfort.

What is the difference between a front clip and back clip harness?

The leash attaches to the dog’s chest on a front clip and to the upper back on a back clip. A front clip changes the direction of force when the dog pulls, while a back clip generally lets the dog move forward against the leash. Back clips are easier to attach and often suit dogs with good leash manners.

Can a dog still pull with a no pull harness?

Yes. A no pull harness changes leverage, but it does not remove motivation. Dogs may continue pulling toward food, wildlife, people, or other dogs. Use the harness as management while teaching loose leash walking with treats, short sessions, and gradually increasing distractions.

Are dual clip harnesses better?

They can be more versatile, especially when a dog needs front clip control during training and back clip comfort during calm walks. They are not automatically better for every dog. Make sure both attachment points are strong, the harness does not twist, and the two-leash configuration does not restrict movement.

What harness is best for a dog that pulls?

A well-fitted front clip or dual clip harness is a practical starting point for many pulling dogs. Choose one that keeps the leash attachment stable without pressing on the shoulders. For persistent lunging, fear, or aggression, get help from a reward-based trainer or veterinary behaviorist rather than relying on equipment alone.

Next steps for choosing safely

Measure your dog according to the manufacturer’s instructions, then check the harness while your dog is standing, sitting, and walking. Start indoors or in a quiet area and reward calm behavior before testing it near heavier distractions.

If your dog has pain, breathing difficulty, or a changed gait, consult your veterinarian before continuing with the harness.

Categories